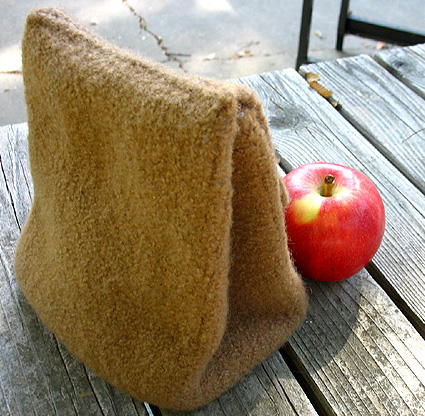
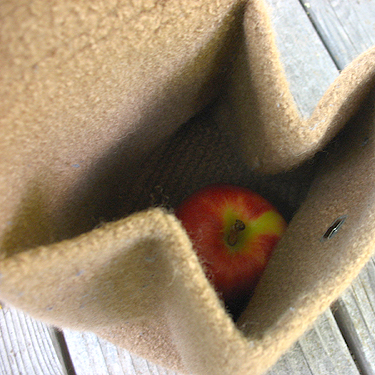
 Now here's a creative idea for a lunch bag! This little bag was designed by a high school student and is offered as a free pattern at knitty.com.
| SIZE | |
| One (comfortably fits a sandwich, cupcake, juice box, and small bottle of aspirin) | |
| FINISHED MEASUREMENTS | |
Before Felting After Felting | |
| MATERIALS | |
| |
| |
| GAUGE | |
| Approx. 12 sts = 4 inches in stockinette stitch. Exact gauge is not important for this project. | |
| PATTERN NOTES | |
The base of this bag is worked back and forth in garter stitch, then stitches are picked up around the circumference of the base, and the bag body is worked in the round. When the bag body is the desired height, some stitches are bound off, and the bag flap is worked back and forth. This easy project is a good introduction to both knitting in the round, and felting! | |
| DIRECTIONS | |
|
Row 1: Sl 1, k to end. Repeat this row 35 times more. There should be 18 slipped sts along each side edge of the work. After last row is worked, do not turn work. Bag Body Work in the round in stockinette st until work measures 13 inches from edge of base. Next Round: BO 61 sts, k to end. 25 sts remain. Flap | |
| FINISHING | |
|
Felting Place the pillowcase in the washing machine, adding a small amount of detergent and a pair of old jeans or other heavy article of clothing, to provide additional agitation. Run the washing machine, checking progress regularly. When the bag has reached the desired size and density, remove it from the machine and rinse it thoroughly. Shape it with your hands, folding it to resemble a paper lunch bag. Lay it flat and leave it to dry thoroughly (this may take a day or two). Final Touches Pattern & images © 2006 Frances Swiecki |


No comments:
Post a Comment